In this blog it consists of a journey throughout our editing process in which Tisha did most of the editing work but she asked the other group members opinion on what could be improved in the scene. The Blog itself and pictures was done by Tisha.
Editing
Throughout this editing process, there were many changes that were done which were changed based on the overall look of how the video looked and some were changed based on audience feedback that we got including our teachers suggestions.
(First draft)
This is the first draft that we did before getting feedback from the audience and our teacher. After showing this video to them, there was a lot of feedback that opened our eyes to new perspectives. The feedback that we got was:
extend the introduction, to make it more interesting and doesn’t jump straight to the main event / problem
add more music to create suspense; such as during the drug scene, fight scene with mom, and ending
Make some scene look more intense and to create a feeling that can increase the sense of personal to the audience
Adding music in the introduction in order to make create the scene as well before starting the scene
Add more scene in the party to make the movie more interesting and creates curiosity for the audience
After all of this feedback, I started to get on editing and see if I was able to reach audience expectations.
Problem 1: Drug Scene
In one of the scenes, we can see the drugging takes place. However, we noticed that the lighting of the drugging shot is the same as the rest of the party. This might make the drugging shot too similar with the rest, making it blend in.
With this new change it brings emphasis to this shot and shows its significance and danger. We made the lighting more low-key by adjusting the color settings such as the exposure. The low-key lighting differs this shot from the rest and adds some suspense.
Problem 2: Opening Scene
For the opening scene, I created two different example of scene. Where the difference is the timing when the first opening credits should pop up.
We can see in the first example, the opening credits of the character starring comes straight into the movie. This may seem too fast and the duration was a bit too fast as well, which it hard for the audience to read the names.
In the 2nd example we can see that the opening credits come a bit after, which they have a much longer duration but still was a bit too fast.
After all these examples and several feedbacks later, I change the opening credits scene to show the first character name a scene later after the movie credits. This allows to create curiosity for the audience who will be appearing in the movie from the opening credits scene.
Problem 3: Room to party
In this scene we can see that the main character comes out of the room then jumps straight to the party, overtime this looks like the character’s house and the party are located at the same place. I did not want it to be like that, so In between the scene where she rushes out of the room to the party. I added a car that was trying to park to indicate to people that the main character left the house to actually go to the party as this was shot outside of the school.
Problem 4: Make up continuity
This is the make up continuity error, at first it was too long which is why I cut it to make it short and it feels the scene became fast. With this fast paced it helps in leading to the climax and it builds suspense to the audience.
Opening Sound
From the first draft of the video, the opening of the movie had no sound which felt empty with the sudden jump into the scene. Which is why I edited to add the song to be the intro, but with a twist of adding a distortion to the music. This allows the audience to feel the feeling before going into the scene. As the music was party music, this creates the atmosphere of the party.
Tension build up to fight scene
Before adding this tension music, when the music cuts off then the character turns around it wasn’t giving the feeling of the jump that every thriller would have. I think that by having that tension music builds up and overlays with the music being played it makes the scene feel more intense with the amount of sounds that can be heard all at once.
Problem 5: Drug Scene
The drug scene that can be seen here is that I added a tension sound in order to emphasize and make the audience focus on the cup. With this tension itself, not just by emphasising but it can also make the audience start guessing on what's gonna happen next. This becomes a hermeneutic code to make the story more interesting.
Final product test:
This was the final product test, where we showed it to our teacher in which there were several other things needed to be added and changed in order to create a more appealing result.
After all of the changes that we did, this was the result of the changes that were given from the first final product test. Even though the changes weren’t really noticeable, it helps in creating the scene to be more lively and the audience can feel the feeling that we are trying to give to them.
This is the first draft of the audio for the opening, where the markers can be seen as blue represent when the beat drops. This helps in cutting each part based on the beat drops in order to make it more lively and builds up tension to every beat drop.
Problem 6
From the two images, we can see the different type of fonts that were use as the opening credits, as well as the size of each font are different. At the end we decided to use the one on the left that uses the type writer font. This font was much simpler and it wasn’t similar to the title that we had.
Overall from this whole editing process, there were many changes that were done and it creates this better result from the very first result before feedback was given. From this, it is better to hear from other people's opinions which could help in seeing things in a different way in order to create a better product.
Reflection: Keeping a blog like this helps tracks the changes made to the video, so we can easily foresee how it develops. We additionally keep track of the problems we faced during editing e.g. continuity error. While I was not an editor, I recognized the hard work for my group from my editor who always delivers her cakes, no matter what. However, while I didn’t have the time for it yet, I’d also like to learn how to edit, so I can assist my editor further and take some weight off her back.
This blog post contains a description on how we managed our footage for our thriller film opening. This post was made by Kim.
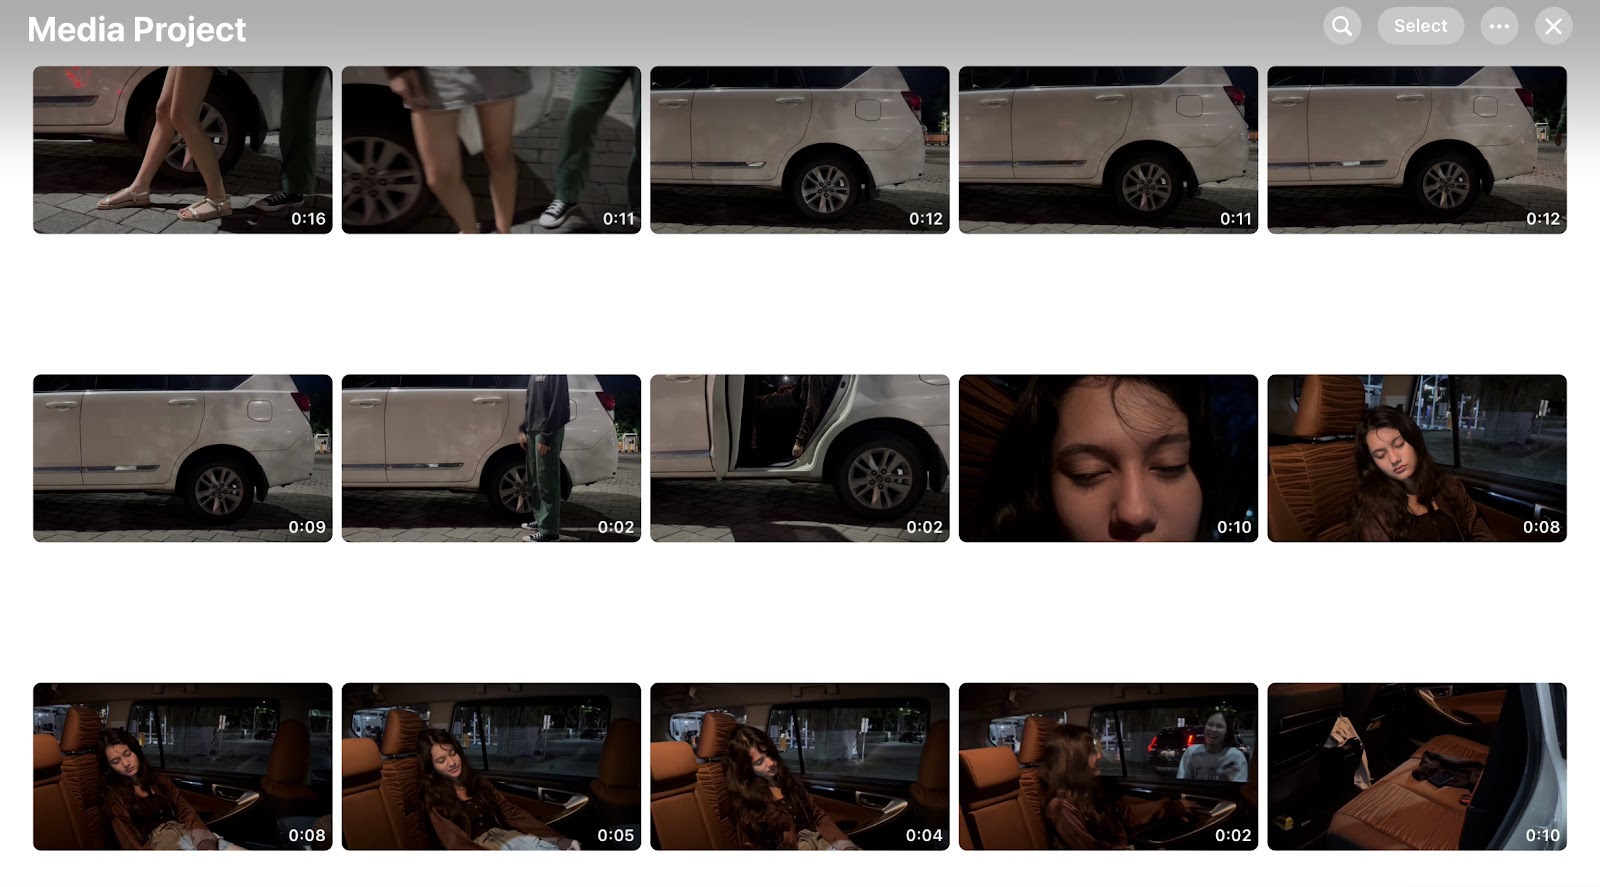
During the production process, we used several technologies and applications to organise our footage for our thriller film opening. We mainly used the Photos App on our phone as a key tool for organising and managing all the photos and videos, from planning to post-production.
We created a shared album within the Photos App to store all our photos and videos in one folder. By using shared albums, each of us can contribute by adding photos or videos we took during the filming process.
The shared album allowed all of us to access the folder and add photos or videos we took from our own devices during the filming process. This made it more efficient as we all can view the images and footage we took. We compiled all the photos and videos related to the project such as the storyboard, behind-the-scenes photos and the shooting footage. Moreover, this saves us a lot of time since we don't have to send the photos and videos individually through messaging apps.
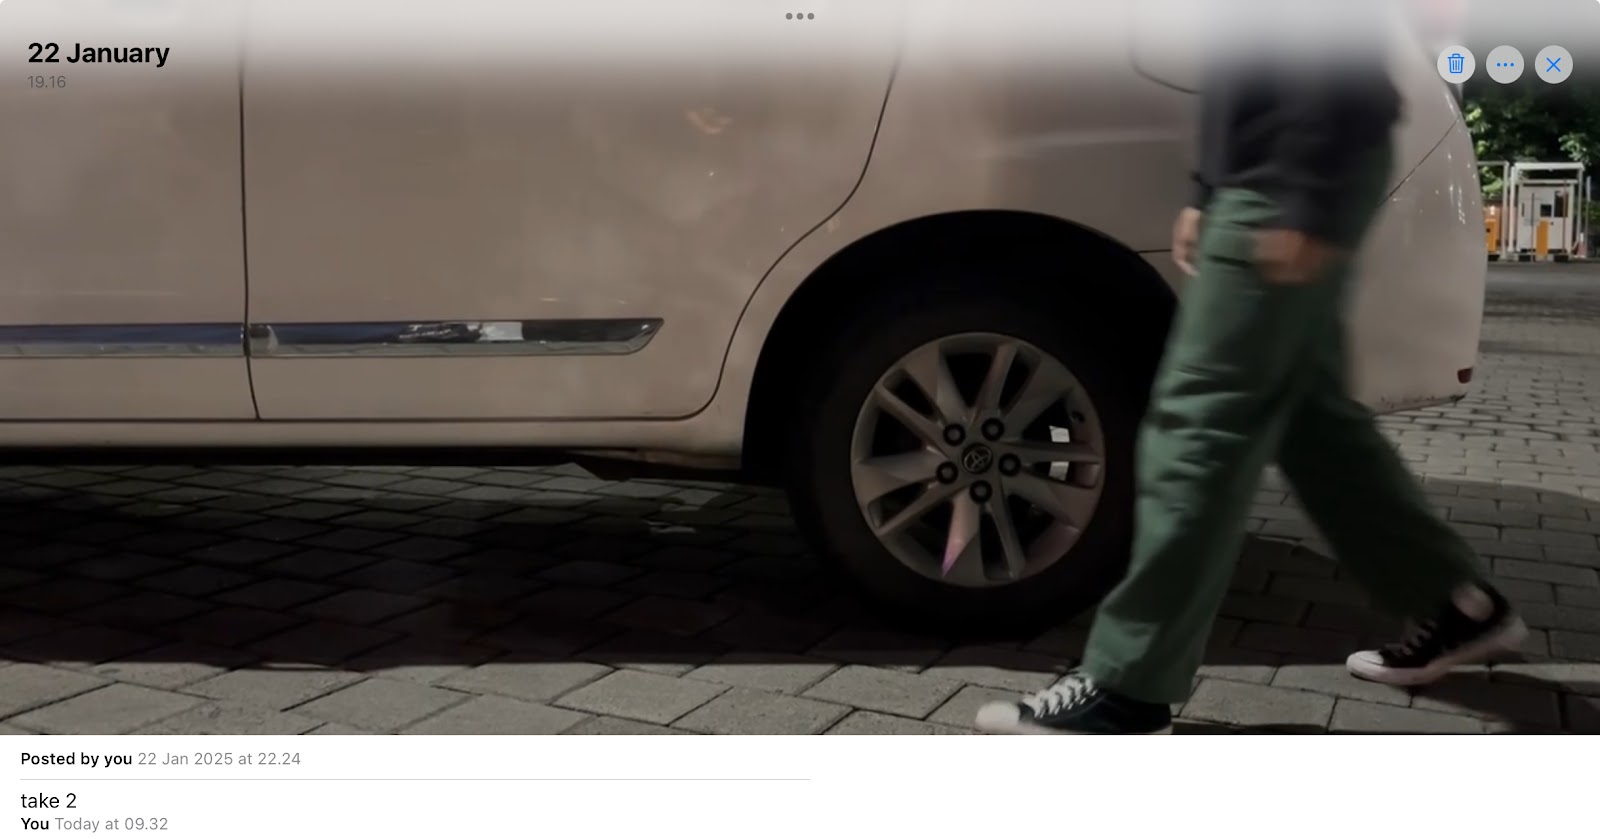
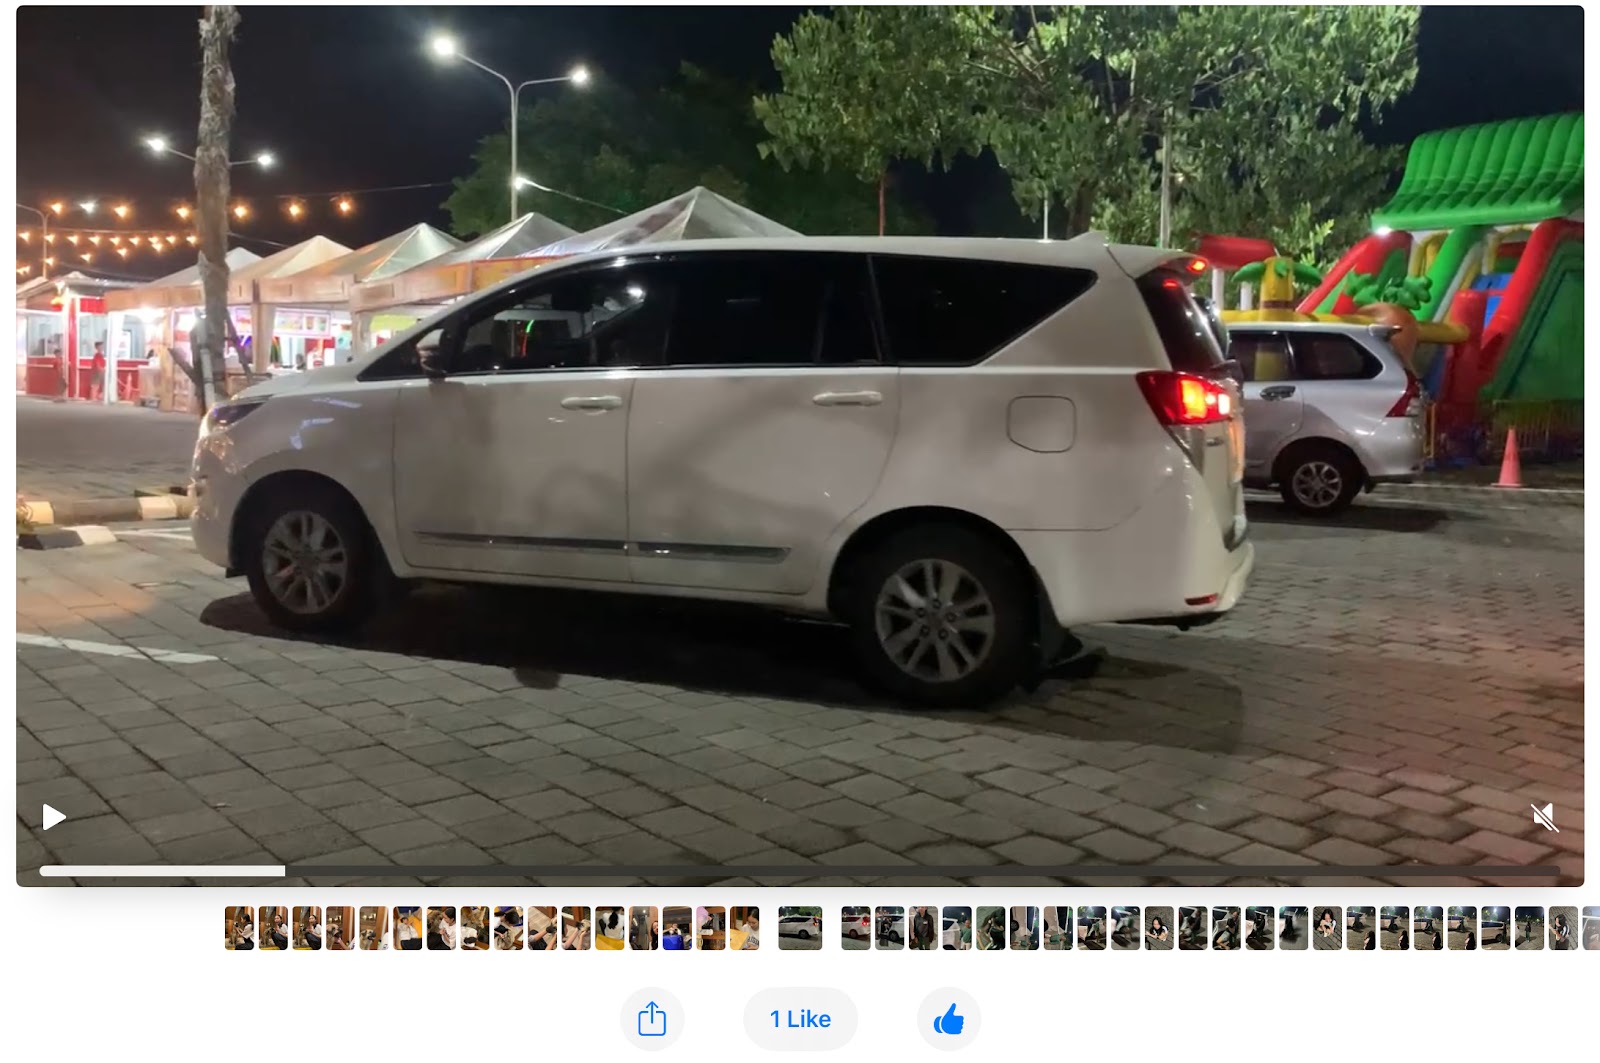
The shared album also has a ‘like’ button and a comment section which was very helpful to us. Each member could use the comment section to share their opinions about different takes or angels, but we mainly used it to label the take number of each clip.
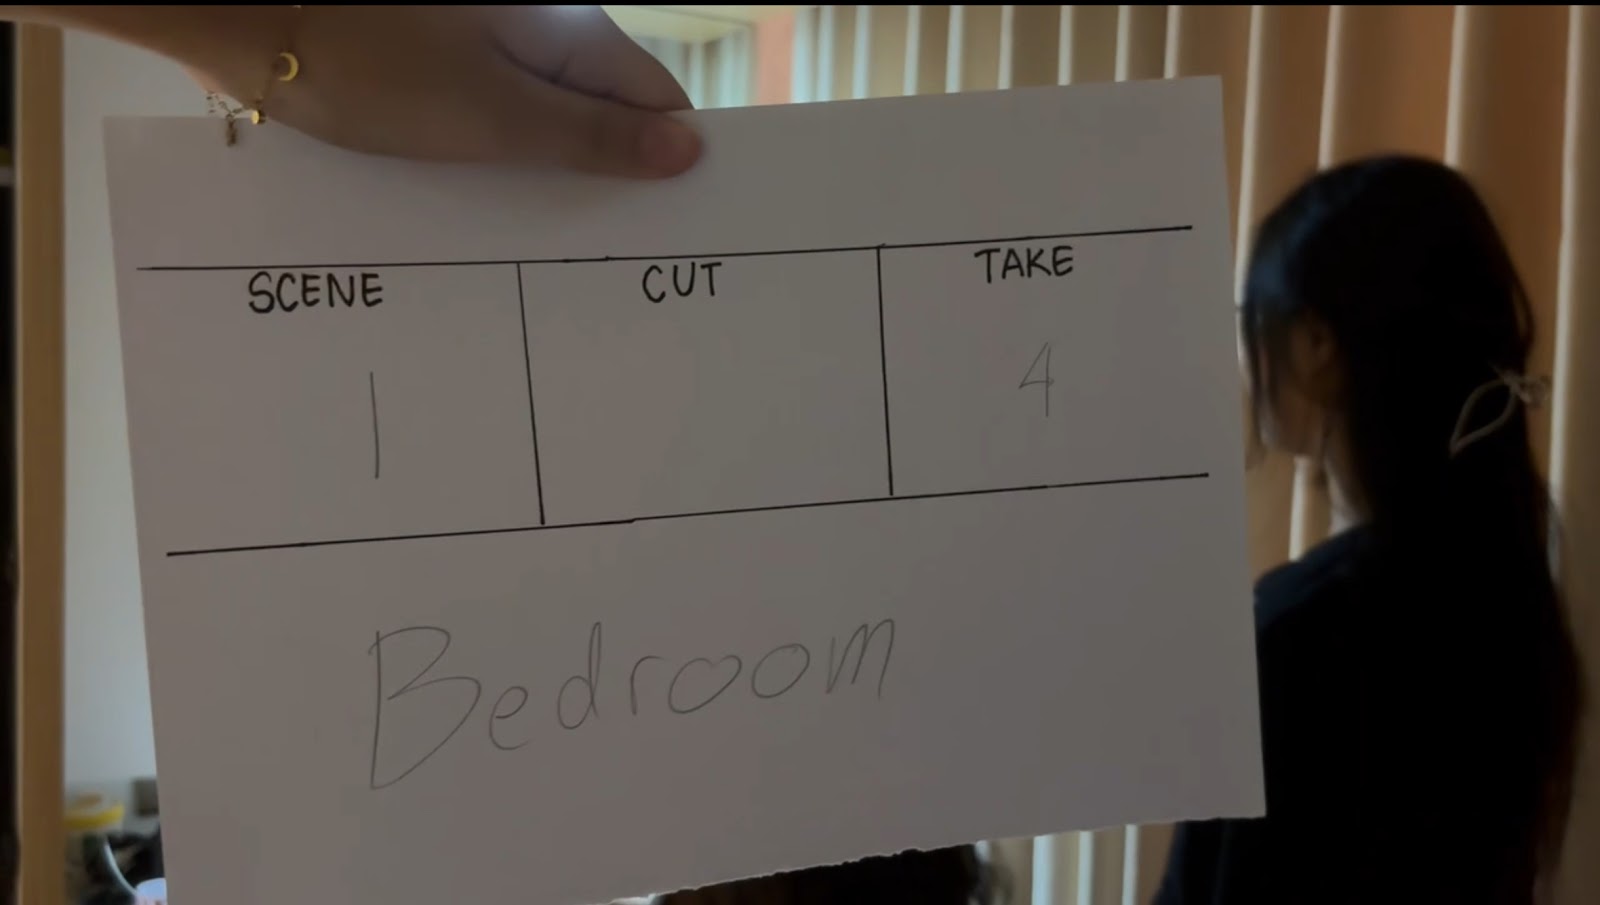
We didn't have a clapper, so we made our own with a piece of paper to label the take number and the scene
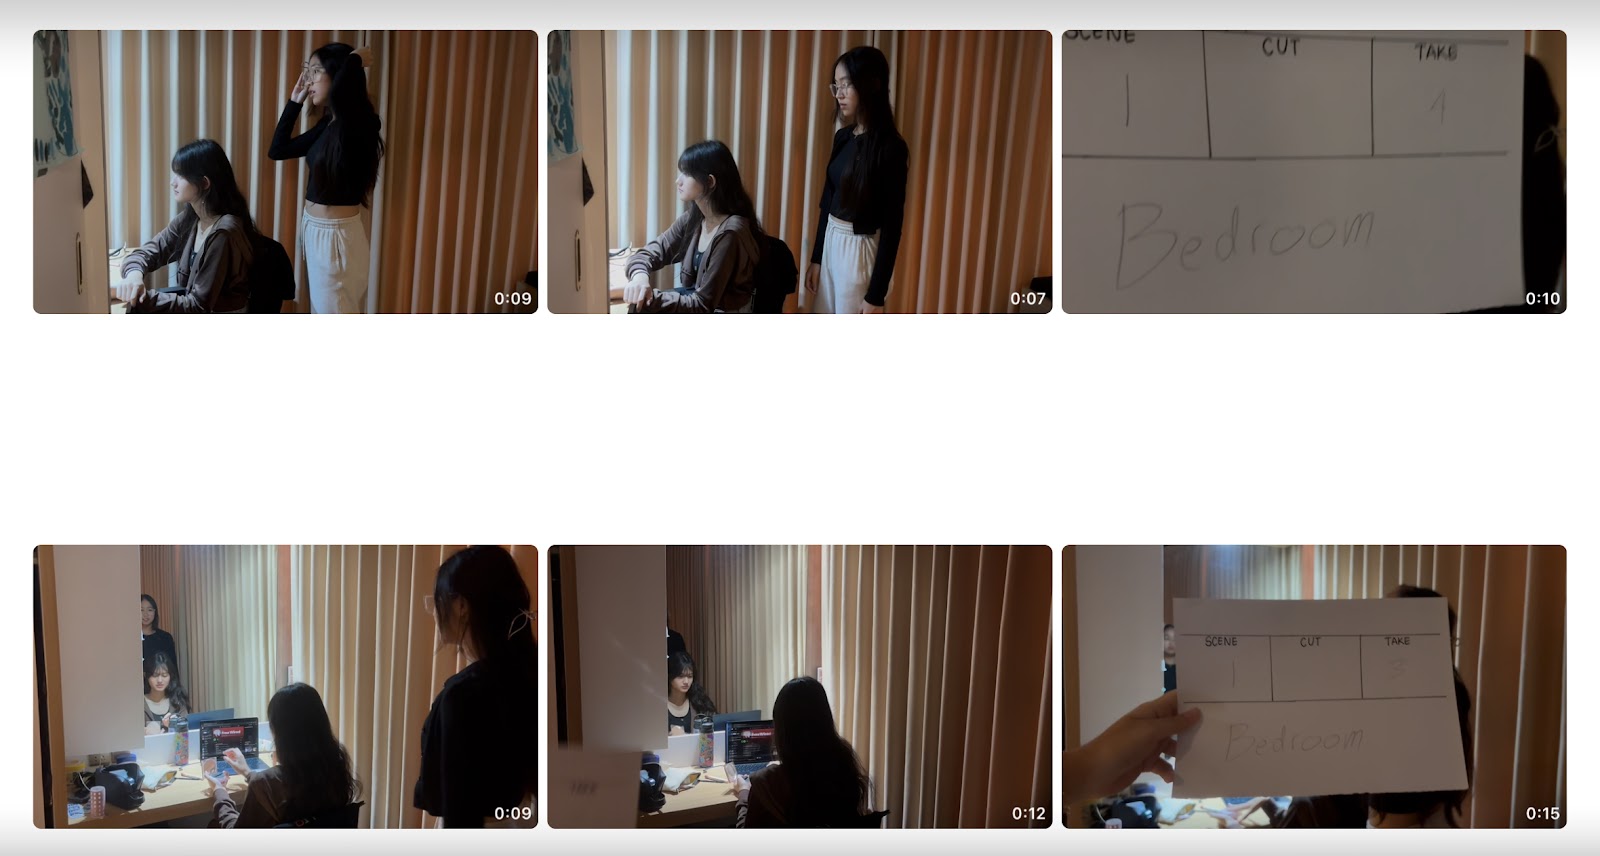
However, most of the scenes didn’t have the clapper as the cover of the clips, so we decided to label each take with the take number and scene to reduce any confusions or misunderstandings.
We used the ‘like’ button to label which clips that turned out well without any errors or mistakes, this made it easier for Tisha (our editor) to select the right clips to use during the editing process.
Overall, by using the shared albums, it improves our collaboration, organisation and efficiency when producing our thriller film opening. It ensures that everyone involved has easy access to the materials. If a team member loses an image or video clip, other members would still have access to it, therefore we won't have to spend a lot of time re-filming different clips. Other than that, this ensures the quality of our thriller film opening as each member can check each clip to check for any errors or mistakes that can affect the continuity of our final film opening.
Personal Reflection:
Overall, organizing and managing our footage has increase efficiency as we did not have to waste so much time watching videos one by one to decipher which take is which take. When done like this, it makes editing work much easier meaning it can be done quicker, which will be especially useful when chasing deadlines. While organizing footage may seem like a hassle and not too big of a chance, it actually benefits us in the long run.
This blog post contains the behind the scenes of our filming process. This post was made by Kim.
Production: Behind the Scenes
Roles:
Mother: Eileen
Daughter (Cassie): Cassie
Director / Editor / Videographer: Tisha
Videographer: Kim
Behind-the-Scenes:
Scene 1: Bedroom Scene
During the filming of the bedroom scene, we experimented with different angles that would be able to show Cassie and the props on the table. We tried to do the takes from different angles such as from the side or from the laptop’s webcam. During this scene we struggled to keep the continuity, as the make-up props were in different places after every take, Cassie’s hand placement was also different, and one time she used the wrong make-up prop from the previous take. There were many mistakes that we didn’t notice while recording, leading to us having to re-shoot all the clips for the bedroom scene. This made us learn that we have to be very careful when filming to make sure there were no mistakes and there will still be continuity in the final opening. To make sure no mistakes happened, we had to recheck the previous take to ensure that all the props and the character’s position were the same.
Since we didn't have a clapper, we made one out of a piece of paper and labelled the take number and the scene.
Scene 2: Party Scene
During the party scene, we needed alcoholic drinks for the party. We used tea to replicate it, since the color was similar and it was cheap, so we can easily buy more if we need more or have to re-shoot some scenes.
We still needed alcohol bottles as a prop for the background to create realism, so we decided to use Tisha’s parent’s alcohol bottles as a prop for our project. This tells the audience that the party drinks were alcoholic
Scene 3: Kidnaping Scene
During the kidnapping scene, we decided to film in a supermarket parking area, we chose this location because it was a large open space where we could easily try different areas to shoot out scene, it was also convenient as we could buy props for our party scene, such as the drinks.
This clip we had to shoot a clip of Cassie’s phone ringing from a call from Mom. We used Eileens’ phone to call Cassie’s phone and renamed her contact name to Mom♥️. Here we had to make sure the phone started ringing at the right time when the camera approached the phone, sometimes the call came too early or sometimes the call was too late. Another problem we experienced was that the camera didn’t focus on the phone screen which did not show the contact name, leading us having to keep re-shooting until the final take.
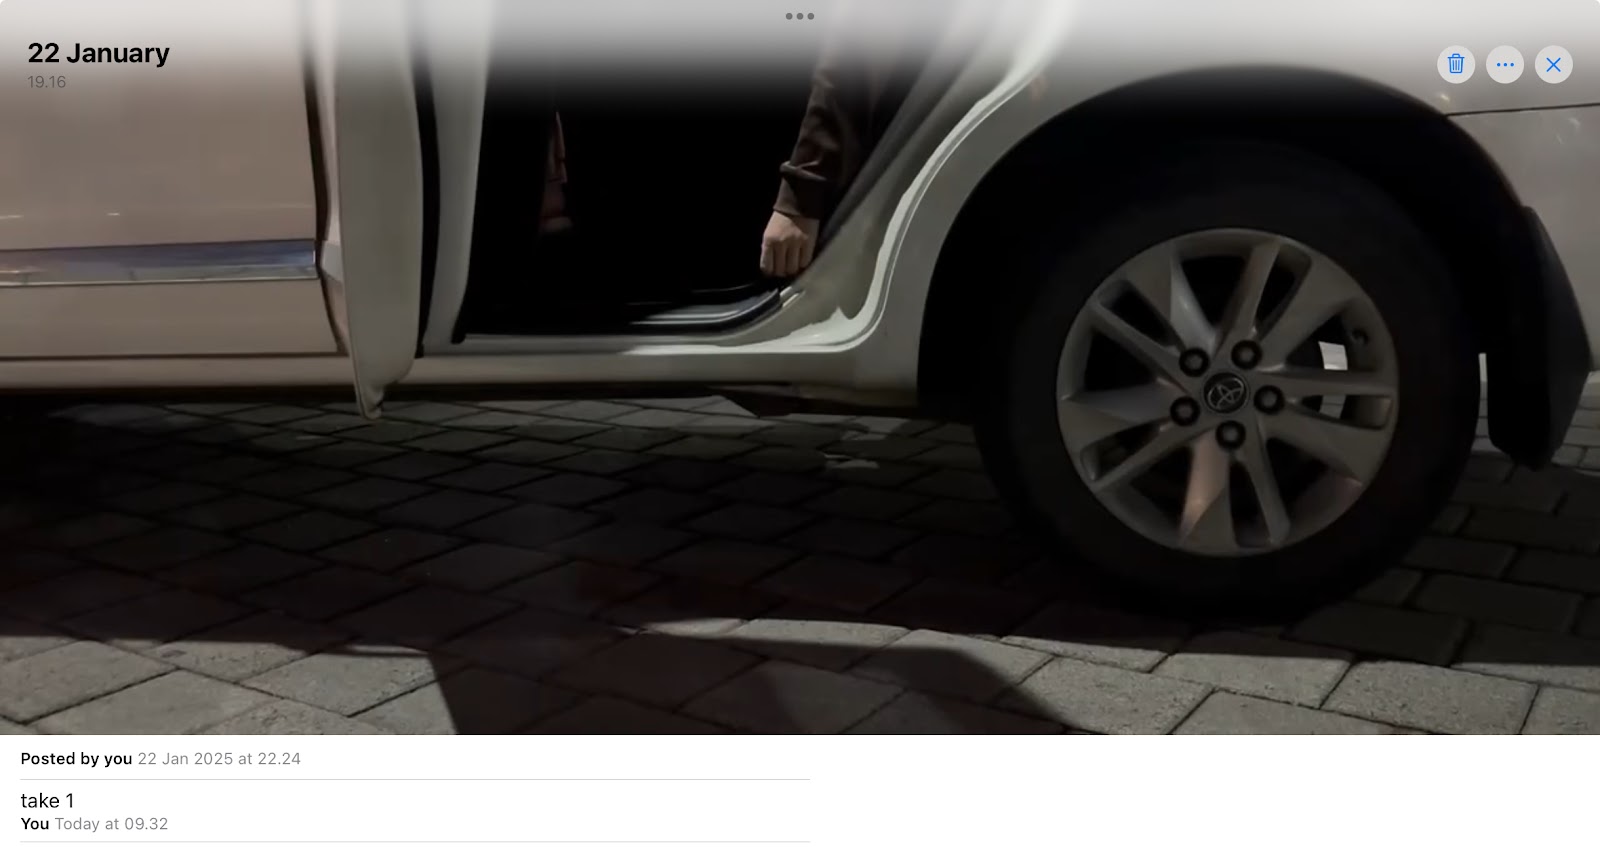
Here we had to film the dragging scene, at first Tisha our director had to demonstrate on how to properly drag Cassie. We used Cassie’s personal driver to help act as the kidnaper. We had to try different angles where Cassie can still be shown while also not exposing the kidnaper’s face. There were also times where Cassie’s driver could drag out Cassie properly, or the car door didn’t open wide enough to show Cassie that clearly.
Reflection:
Keeping track of the things behind the scenes truly shows how hard we worked. Here, we can shed light on some of the problems that we faced during shooting and how we countered them, developing our problem solving skills. Furthermore, this acts as proof that we were really the ones behind the production of this film opening.
Here is the dominant reading for component 1. This work is done together by my group.
Dominant reading ʚɞ ⁺˖ ⸝⸝
List
Our intended Dominant Reading
How we will achieve this with technical elements
Individuals
Cassie Mom Kidnapper
Cassie: A rebellious child who doesn’t listen to her mother’s advice to not attend a party. She rushes to the party. Mom: A worried, angry and strict mother. Kidnappers: an unknown baddie
Cassie: Mise-en-scene: Short outfits, make up done, styled hair Sound: Talks angrily, party music, “argh” at her mom Camera: Close up to the child fighting her mom’s grip. Edit: Jump cut to show she's in a hurry. Mom: Mise-en-scene: modest outfit, glasses, black clothes (boring), hair tied up, “text me when you get home” Sound: Raising her voice, formal language Camera: Close up to the child fighting her daughter’s grip. Edit: cut Kidnapper: Mise-en-scene: Dark alley Sound: No talking, voice is hidden. Camera: shows only half of the kidnapper’s body. Sound: No dialogue to maintain anonymity. Edit: cut
Social group
Teenagers
Teenager: They are shown in the party scene where they are all having fun, talking freely with each other
Teenagers:
Mise-en-scene: party outfits (e.g short skirt, tank/crop tops, etc), smiling and enjoying themselves, teenagers room Sound: joyful laughters, melodic party music, spotify playlist Camera: medium shot of people interacting with each other, close up of a hand applying makeup. Edit: cut
Places
House Parking lot/car
House: Shows the teenagers room being all gloomy and dark which conforms to what a typical teenage room would look like Parking lot / car: shows an isolated, dark area which is out in public.
House: Mise-en-scene: Teenagers room, laptop, make up bag, basic and neutral, dark as its night time Sound: Music playing from laptop, teenagers playlists Camera: Pan and close up to teenager’s belongings (wall with polaroids) Edit: cut
Parking lot/car: Mise-en-scene: Dark and isolated, Teenagers own car, Sound: Diegetic sound of traffic, car opening it up, Camera: Establishing shot, shows Cassie has arrived at the party Edit: cut
Events
Party Kidnapping and drugging argument
Party: Teenagers gathering at a party to have some fun! Kidnapping and Drugging: The party’s dark turn, and nobody even notices
Party: Mise-en-scene: Short outfits, colourful led lights, drinking cups, alcohol Sound: Party music playing, pouring of drinks, chit-chat Camera: Medium shot of people interacting with each other, close up shot of alcohol, Edit: cut Kidnapping and Drugging: Mise-en-scene: Adding powder to the drink, unknown man dragging the girl out of the car Sound: Dragging sound of the feet on the cement, party music distracts people from the drugging, Camera: Close up to adding the “powder” then cuts to people being none the wiser, close up shot of Cassie “fainting”, dutch angle Edit: Fade out when Cassie faints
Overall Message
Our film represents teen rebellion and real-world danger. The teenager represents freedom and recklessness when she wants to have fun and doesn’t think about the risks. Her mother represents authority and care when she tries to stop her. Their fight shows a common struggle between teenagers and parents, where the teen feels restricted, and the parent feels unheard. The party represents excitement but also hidden danger. The kidnapping scene shifts the story from rebellion to thriller, showing how risky situations can quickly turn bad. The moment when the mother calls, but the teen can’t answer, highlights her loss of control and the mother’s fear coming true. Overall, our film shows how teenagers sometimes ignore warnings, thinking nothing bad will happen, but actually danger can be closer than they expect. It also represents how parents try to protect their kids, but they can’t always save them from the consequences of their choices.
How are these similar or different from your Statement of Intent?
Similar: We stuck to the idea in our statement of intent, where the main idea is more or less the same; a girl gets kidnapped. The mise-en-scene we planned to apply to our characters were also similar, specifically the mother and the teenager’s outfits and props. Overall, not many changes were made and we kept a lot of our original plan in our final film opening.
Different: We didn’t stick to our idea on using social media and trends that we thought would be relatable and appealing to a teenage audience. However, we may add some subtle shots alluding to it (such as the phone recording from instagram of the dancing) as social media is undoubtedly a big part of teenager’s lives, and we want to accurately represent them in our movie opening. Instead of a text from the mother, we used a phone call instead.
Personal Reflection:
Writing this blog helped me understand how media influences the way audiences interpret messages. In my project, I applied dominant reading by carefully choosing the technical elements to create a specific representation and appeal to my target audience. It was useful to keep track of how we want our audience to perceive our representations so we could carefully think before introducing any new technical elements into it that might contradict our meaning. Overall, it was useful and fun to figure out what technical elements would fit.